

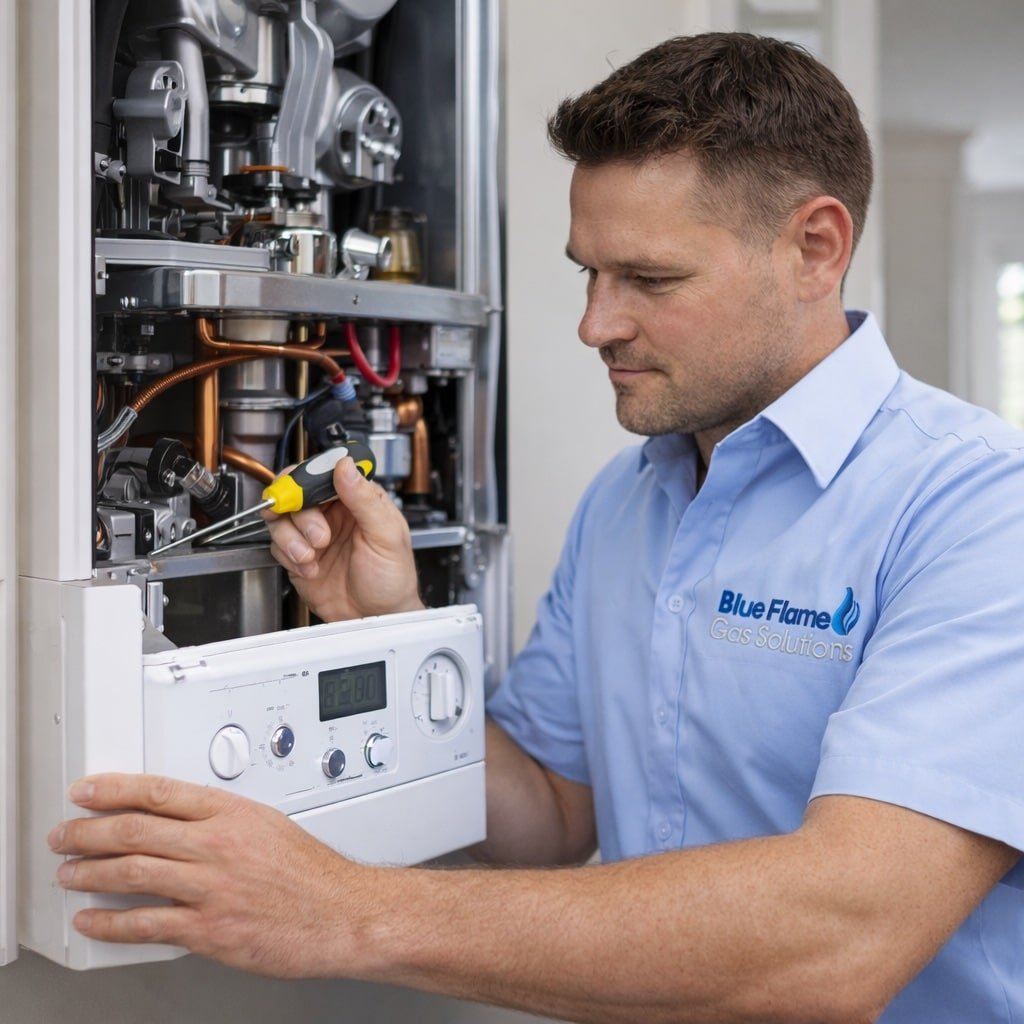


How to Top Up a Worcester Boiler With a Filling Key
Low pressure on a Worcester boiler can stop your heating and hot water from working. If your boiler uses a removable white filling key, this guide shows you exactly how to top up the pressure safely, step by step. If your boiler uses a blue lever instead of a removable key, follow our Worcester boiler top-up guide.

Not Sure If You Have a Keyed System?
Worcester boilers typically use one of three filling systems: an external filling loop, an internal keyless (blue lever) filling loop, or an internal keyed filling loop with a removable white key.
This page applies to internal keyed filling loop systems only. These systems require a small white plastic key to be inserted and locked into position before the boiler can be topped up.
If your boiler has a blue lever underneath and does not require a removable key, follow our main Worcester boiler top-up guide instead.
Still unsure which system you have? Look underneath the boiler:
• If you see a blue lever, you have a keyless system.
• If you need to insert a white plastic key before turning a tap, you have a keyed system.

If you’re ever unsure, stop and contact a qualified Gas Safe engineer for advice.
Worcester Boiler – Internal Keyed Filling Loop
(This uses a removable filling key)
Many Worcester boilers use an internal keyed filling loop. This means you’ll need to insert a small white filling key (often stored under the boiler) before you can top up the pressure.
Step 1 – Find the filling key (and the key housing)
The filling key is sometimes:
-
Loose near the boiler (on a shelf / in a drawer), or
-
Resting on top of the boiler casing
However, many Worcester boilers have a key housing on the decorative panel underneath the boiler.
Remove the bottom decorative panel to access it.
✅ You can’t damage the boiler by removing this panel — it’s purely a cover for appearance.
Step 2 – Remove the key and locate the key slot
Once the panel is off, you’ll normally see:
-
The white filling key stored in the panel/key holder
-
The key slot / orifice where it inserts (use your photo with the blue arrow here)
Take the key out and line it up with the slot.
Step 3 – Insert the key (push + twist like a bayonet bulb)
Push the key into the slot firmly.
It fits like a bayonet light bulb, so you need to:
-
Push in, then
-
Twist to lock
You’ll feel it seat properly — usually an extra half inch as it locks into place.
If it doesn’t feel secure, remove it and try again — don’t force it at an angle.
Step 4 – Open the white filling tap slowly (anti-clockwise)
Now turn the white square filling tap (the one you’ve marked with the blue arrow).
Turn it anti-clockwise slowly until you hear water running.
Tips:
-
If you feel unsure, open it slightly, then close it again to build confidence
-
Don’t rush — the pressure rise can lag slightly behind what you hear
Step 5 – Watch the pressure gauge and stop just over 1 bar
Keep your eyes on the pressure gauge as you fill.
-
Aim for just over 1.0 bar (cold system)
-
Do not exceed 1.5 bar
Once you hit the target:
-
Turn the white filling tap fully clockwise to close
-
Wait 2–3 seconds to ensure the needle stops rising
Step 6 – Remove the key and refit the panel
To finish:
-
Twist and remove the filling key
-
Put it back into its holder (so it’s there next time)
-
Refit the bottom decorative panel
✅ Job done.
Pressure Note
-
Do not allow the pressure to exceed 1.5 bar
-
Overfilling can damage the boiler and heating system


🔵 Blue Flame Tip
When inserting the white filling key, check the arrow tip on the key.
If the arrow tip sits flush with the black moulding, the key is fully inserted and locked correctly.
If the key is not fully pushed in and twisted properly:
⚠️ Water will spill out from the key/orifice when you open the filling tap.
If this happens:
-
Close the white filling tap immediately
-
Remove the key
-
Reinsert it firmly (push + twist) until it locks fully into place
Never try to fill the system with a partially inserted key.
The key should feel solid and secure — it should not wobble or pull out easily.
If the pressure keeps dropping after topping up, don’t keep refilling — that usually points to a leak or faulty component that needs checking.
Worcester Boiler – Internal Keyed Filling Loop
(This uses a removable filling key)
Many Worcester boilers use an internal keyed filling loop. This means you’ll need to insert a small white filling key (often stored under the boiler) before you can top up the pressure.
Step 1 – Find the filling key (and the key housing)
The filling key is sometimes:
-
Loose near the boiler (on a shelf / in a drawer), or
-
Resting on top of the boiler casing
However, many Worcester boilers have a key housing on the decorative panel underneath the boiler.
Remove the bottom decorative panel to access it.
✅ You can’t damage the boiler by removing this panel — it’s purely a cover for appearance.
Step 2 – Remove the key and locate the key slot
Once the panel is off, you’ll normally see:
-
The white filling key stored in the panel/key holder
-
The key slot / orifice where it inserts (use your photo with the blue arrow here)
Take the key out and line it up with the slot.
Step 3 – Insert the key (push + twist like a bayonet bulb)
Push the key into the slot firmly.
It fits like a bayonet light bulb, so you need to:
-
Push in, then
-
Twist to lock
You’ll feel it seat properly — usually an extra half inch as it locks into place.
If it doesn’t feel secure, remove it and try again — don’t force it at an angle.
Step 4 – Open the white filling tap slowly (anti-clockwise)
Now turn the white square filling tap (the one you’ve marked with the blue arrow).
Turn it anti-clockwise slowly until you hear water running.
Tips:
-
If you feel unsure, open it slightly, then close it again to build confidence
-
Don’t rush — the pressure rise can lag slightly behind what you hear
Step 5 – Watch the pressure gauge and stop just over 1 bar
Keep your eyes on the pressure gauge as you fill.
-
Aim for just over 1.0 bar (cold system)
-
Do not exceed 1.5 bar
Once you hit the target:
-
Turn the white filling tap fully clockwise to close
-
Wait 2–3 seconds to ensure the needle stops rising
Step 6 – Remove the key and refit the panel
To finish:
-
Twist and remove the filling key
-
Put it back into its holder (so it’s there next time)
-
Refit the bottom decorative panel
✅ Job done.
Pressure Note
-
Do not allow the pressure to exceed 1.5 bar
-
Overfilling can damage the boiler and heating system
🔵 Blue Flame Tip
When inserting the white filling key, check the arrow tip on the key.
If the arrow tip sits flush with the black moulding, the key is fully inserted and locked correctly.
If the key is not fully pushed in and twisted properly:
⚠️ Water will spill out from the key/orifice when you open the filling tap.
If this happens:
-
Close the white filling tap immediately
-
Remove the key
-
Reinsert it firmly (push + twist) until it locks fully into place
Never try to fill the system with a partially inserted key.
The key should feel solid and secure — it should not wobble or pull out easily.
If the pressure keeps dropping after topping up, don’t keep refilling — that usually points to a leak or faulty component that needs checking.
Blue Flame Safety Tip
⚠️ Do NOT touch the yellow lever or tap under your boiler.
-
Yellow taps are always GAS
-
Turning this will shut off the gas supply
-
This can cause:
-
The boiler to stop working
-
Ignition faults
-
Error codes that require an engineer to reset
-
👉 Boiler pressure is never topped up using a yellow tap.
If you’re unsure which tap you’re looking at — stop and check before touching anything.
Need Help?
If you’re unsure, or if your boiler keeps losing pressure, a quick professional check can help prevent future issues.
A quick inspection can prevent:
-
Boiler shutdowns
-
Ongoing pressure loss
-
Costly internal damage
Not sure it’s safe to continue?
We can check the system, identify the cause, and put it right properly.